 English
 русский
 Tiếng Việt
Content
- 1 Why Condensing Unit Sizing Matters
- 2 Step 1: Calculate the Refrigeration Load
- 3 Step 2: Set the Evaporating and Condensing Conditions
- 4 Step 3: Balance the Compressor and the Condenser
- 5 Step 4: Apply Derating and Correction Factors
- 6 Step 5: Verify with the Manufacturer's Rating Table
- 7 Frequently Asked Questions
- 8 Final Checklist Before You Order
A cold room installer once reported a new condensing unit that took four hours to pull a 200 m² chilled room down instead of the specified two. The compressor was running hot, the discharge pressure was normal, but the suction pressure stayed far below the design value. The cause was simple: the unit had been selected based on the total floor area and a generic rule-of-thumb table, with no calculation of the product load that arrived every morning. This guide covers the condensing unit sizing process in the same order that a refrigeration engineer should work through it - and shows why each step matters.
The principal takeaway is this: a correctly sized condensing unit runs steadily, keeps the room temperature within tolerance, and minimizes energy use. An oversized unit short-cycles; an undersized unit runs continuously and overheats. Both destroy compressor reliability. Following the five sizing steps below will prevent these failures.
Why Condensing Unit Sizing Matters
The first thing to understand is the consequence of getting the size wrong. Short cycling is the most common symptom of an oversized unit: the compressor starts, pulls the suction pressure down in a few seconds, then stops because the control cuts in and out too rapidly. Oil never returns to the crankcase, the contactor burns, and the valve plates fail. With an undersized unit, the room temperature rises under peak load, the compressor keeps running with a high compression ratio, and the discharge temperature leads to oil breakdown and acid formation.
- Oversized 33%
- Undersized 28%
- Correctly sized 24%
- No load calculation 15%
The donut chart above summarizes what maintenance records typically show when the actual installed capacity is compared with the calculated design load of food and beverage cold rooms.
| Indicator | Undersized unit | Oversized unit |
|---|---|---|
| Running hours per day | 18-24 h, never stops | 6-9 h with rapid cycling |
| Room temperature | Drifts above set point | Swing of +/-2 K or more |
| Suction pressure | Too low, high ratio | Fluctuates, oil return poor |
| Compressor temperature | Over 100 °C discharge | Cool but frequent starts |
| Energy consumption | High running hours | High start current |
Step 1: Calculate the Refrigeration Load
The load calculation determines how many kilowatts of cooling are needed in the room at the worst moment of the day. The total load is the sum of four components:
- Wall and roof transmission. Heat flows through the insulation from the outside. Its size depends on the panel thickness, the total surface area, and the outdoor temperature difference.
- Product load. The biggest variable in food rooms. Chilling 500 kg of vegetables from 25 °C to 2 °C requires far less capacity than freezing 500 kg of meat down to -20 °C.
- Air change and infiltration. Every door opening pulls warm air in. Facilities with frequent loading and unloading need a serious allowance here.
- Internal heat sources. Evaporator fan motors, lights, forklifts, people, and electric defrost heaters all add heat that must be removed.
The chart shows a typical 100 m² freezer with a 500 kg/day frozen-goods intake. Add up the items, then multiply the result by 1.10-1.15 for defrost and pull-down. A common early cross-check is 150-250 W/m² for a -18 °C cold room, but that number should never replace a component-by-component calculation. Two identical-size rooms can easily differ by 30% in load purely because one has frequent door traffic.
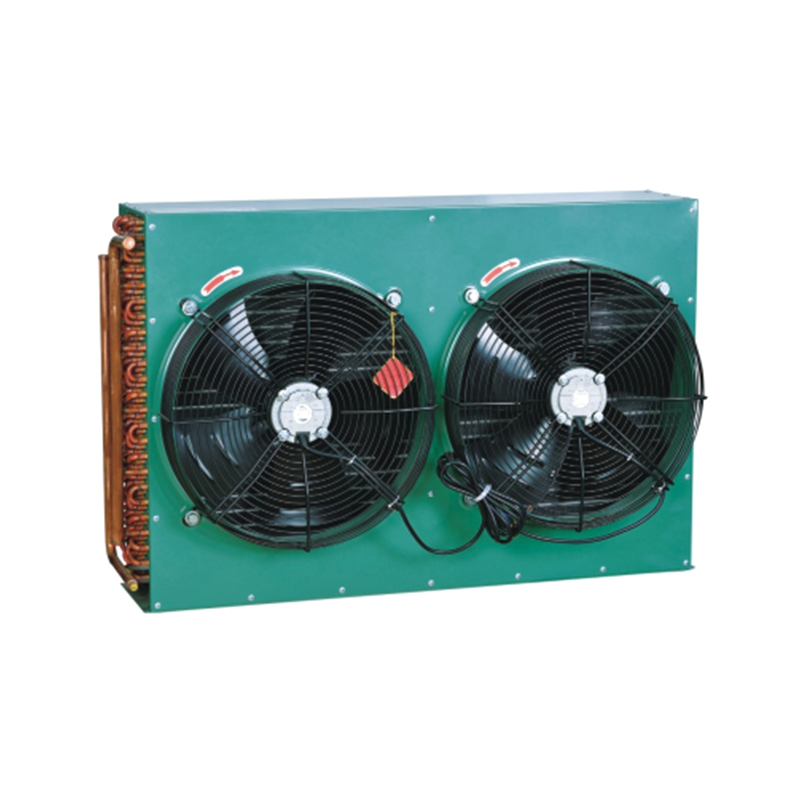
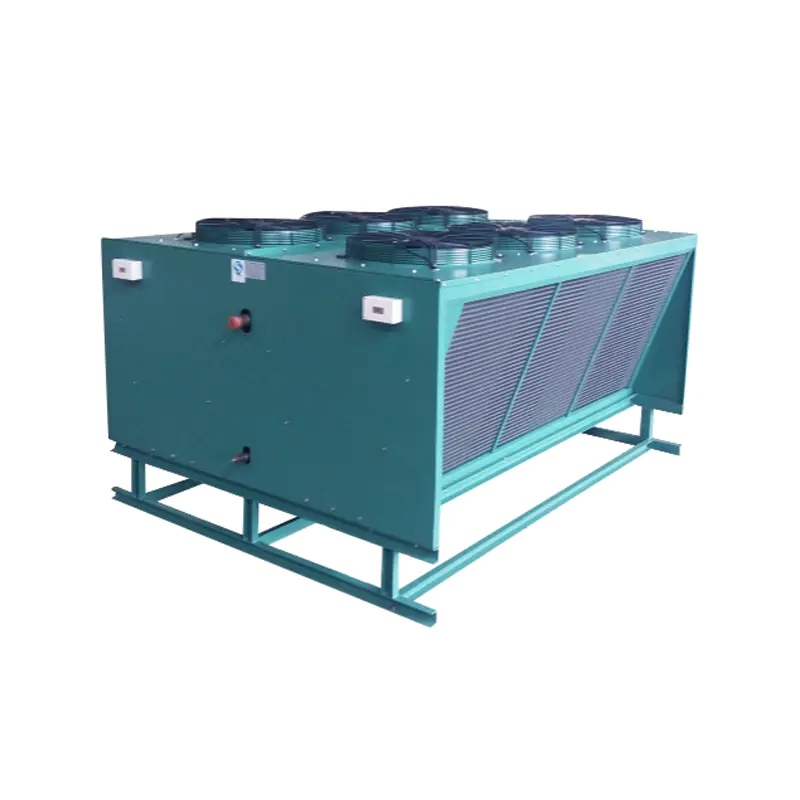
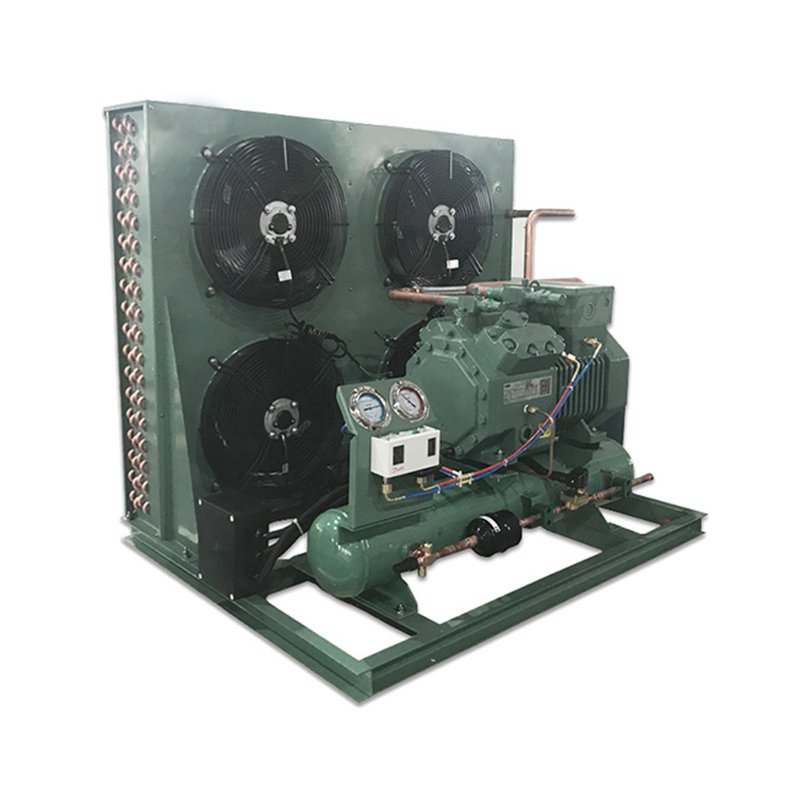
For most cold rooms, an air-cooled condensing unit is the practical first choice because it is easy to install and has no water consumption.
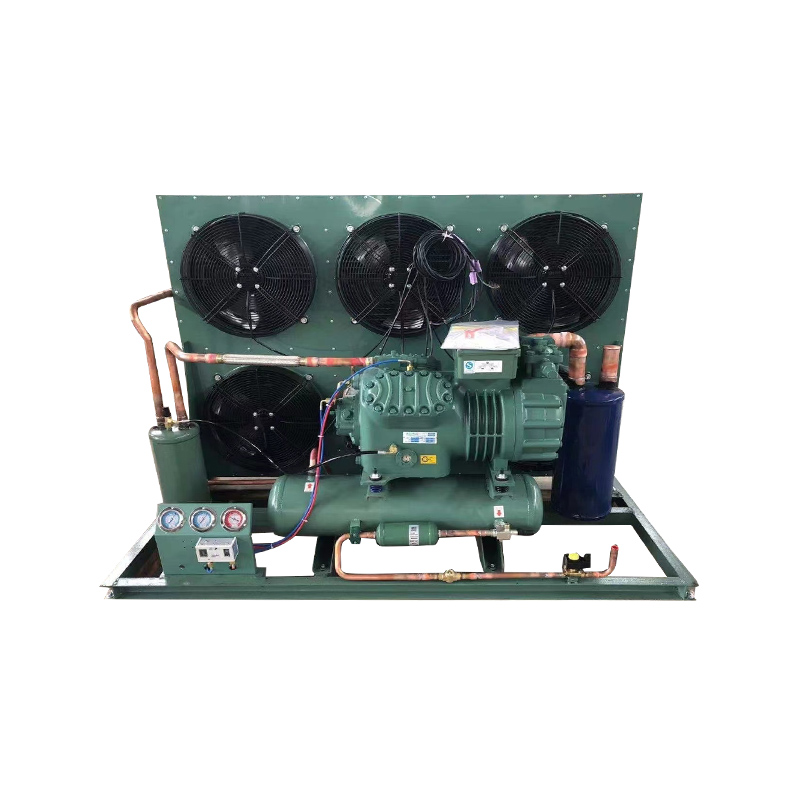 Air-Cooled Condensing Unit for Cold Room InstallationThis self-contained air-cooled unit includes compressor, condenser, and control systems, requiring no water source. It suits cold rooms where easy installation and straightforward maintenance are priorities, making it a practical starting point for capacity selection.View Product →
Step 2: Set the Evaporating and Condensing Conditions
A condensing unit has no single capacity value. The same compressor at -30 °C evaporating produces roughly half the capacity of the same compressor at -10 °C evaporating. Therefore, before opening any rating table, define the operating point.
For a direct-expansion system, set the evaporating temperature about 8-12 K below the required room temperature. A smaller temperature difference means larger evaporator coils and a wetter, more humid room; a larger TD pulls more moisture out but forces the compressor to run at a low suction pressure. The table below shows conditions commonly used in commercial refrigeration.
| Application | Room temperature | Evaporating temp. | TD |
|---|---|---|---|
| Chilled storage | 0 to +5 °C | -8 to -10 °C | 10-12 K |
| Freezer | -18 to -20 °C | -28 to -30 °C | 8-10 K |
| Blast freezer | -30 to -35 °C | -38 to -42 °C | 7-8 K |
Next fix the condensing temperature. For an air-cooled condenser, condensing temperature equals ambient temperature plus 10-15 K, so a site where summer peaks at 42 °C will run the condenser at 52-57 °C. That raises discharge pressure and reduces volumetric efficiency. For water-cooled units, condensing temperature is the outlet water temperature plus 5-8 K, which stays much more stable throughout the day.
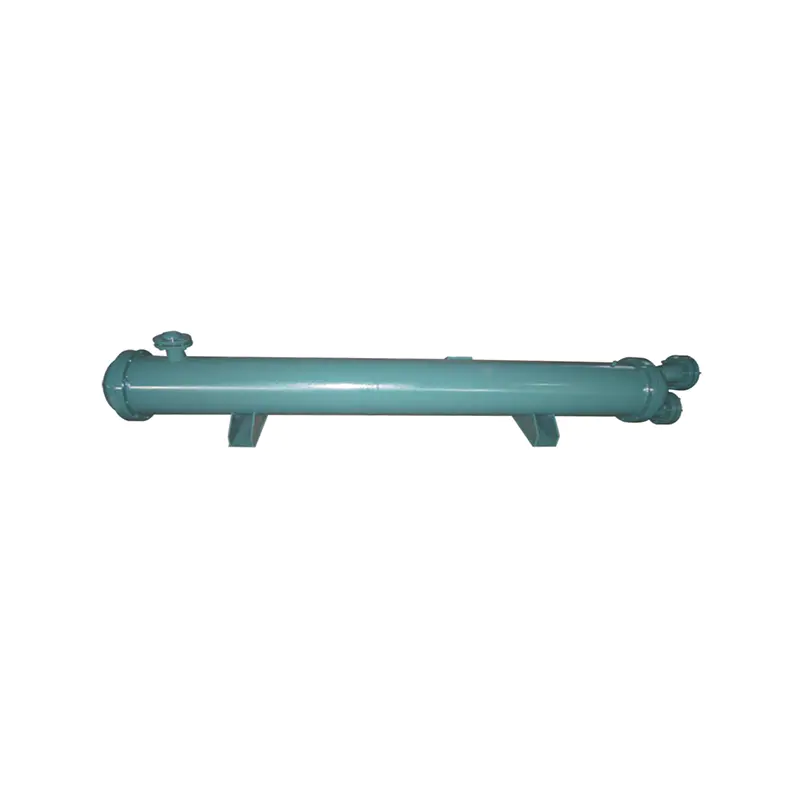
In hot climates, two practical solutions exist: select an air-cooled condenser with generous coil surface, or switch to a water-cooled condensing unit. A water-cooled unit keeps the condensing pressure low and cuts power consumption, but it needs a cooling tower or a reliable mains water supply.
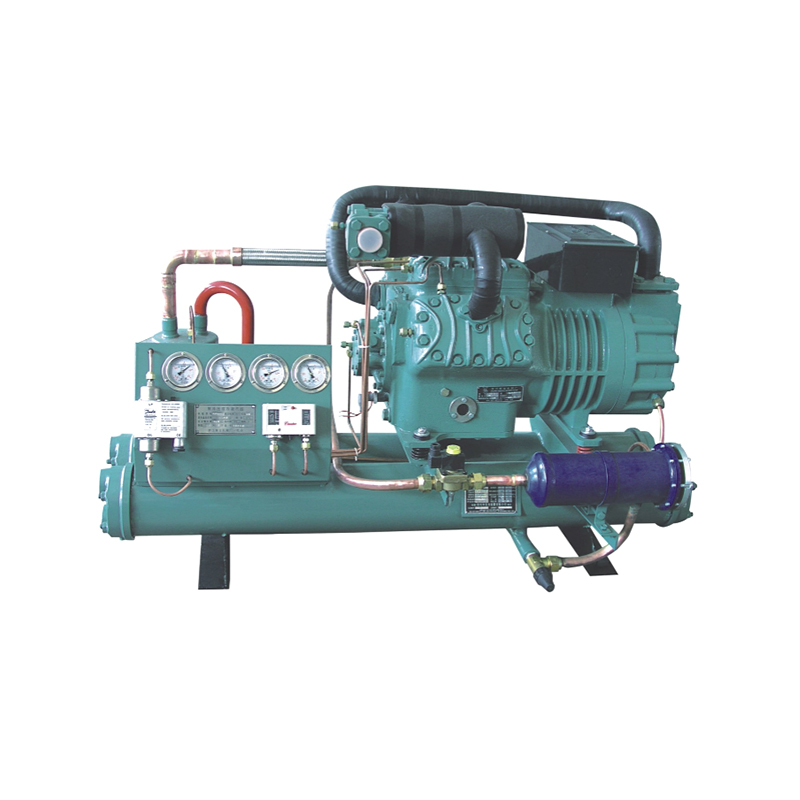 Water-Cooled Condensing Unit for Hot ClimatesDesigned to keep condensing pressure low and reduce power consumption, this water-cooled unit suits locations with a cooling tower or reliable water supply. Its condenser rejects both cooling load and compressor heat, offering strong cooling capacity in hot environments.View Product →
Step 3: Balance the Compressor and the Condenser
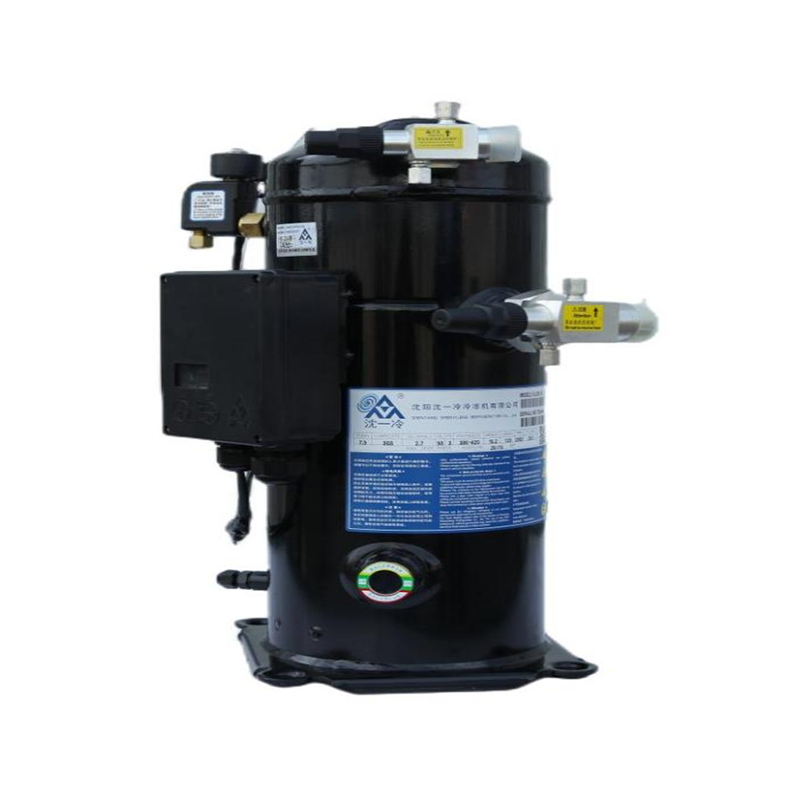
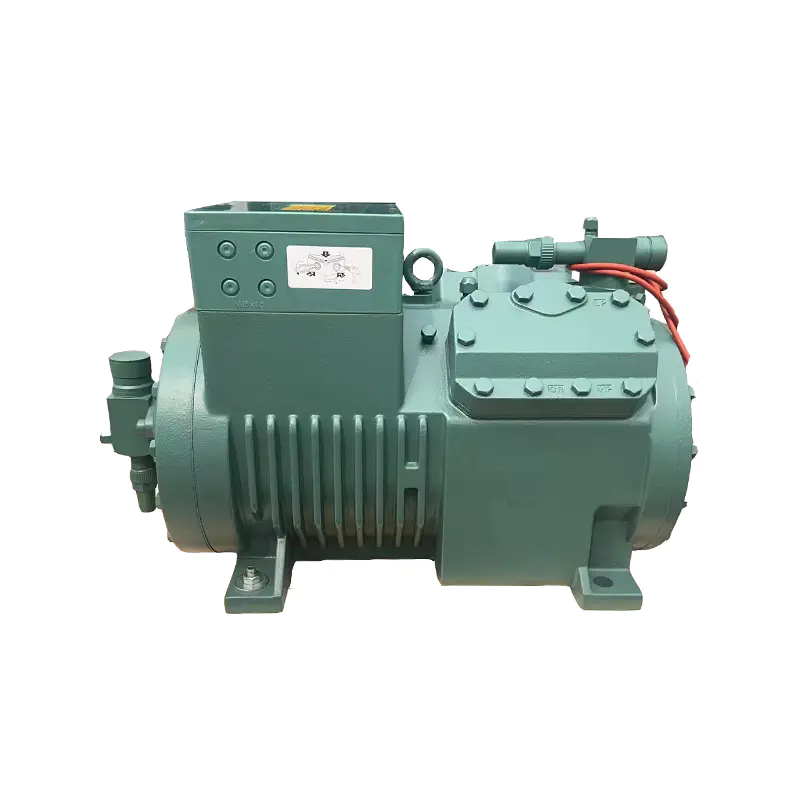
A condensing unit is a matched pair. The compressor produces cooling capacity, but it also consumes electrical power that becomes heat. The condenser must reject both: the cooling capacity plus the compressor motor heat. As a rule, the required heat rejection is 1.2-1.35 times the compressor capacity at the design point.
If the condenser is undersized, the condensing pressure climbs, power consumption rises, and the compressor runs at a higher compression ratio. If the condenser is oversized, the unit runs at a lower condensing temperature, which usually improves efficiency, but the extra coil area and fan power cost money. The chart below shows how unit capacity changes as outdoor temperature rises.
In this illustration, the air-cooled unit is rated at 35 °C ambient. As the outdoor temperature climbs to 45 °C, the available capacity drops by more than 15% because the condensing temperature rises and the compressor volumetric efficiency falls. Sizing must therefore be checked at the worst-case summer temperature, not at the seasonal average.
To balance the pair, choose the compressor first, and then give the condenser enough face area to reject the heat at the design condensing temperature. When you need to compare options, start with the condenser product range to match a coil to the selected compressor power.
Where the machine room is compact or outdoor mounting is preferred, a box-type condensing unit integrates the compressor, condenser, receiver, and controls in one weatherproof enclosure.
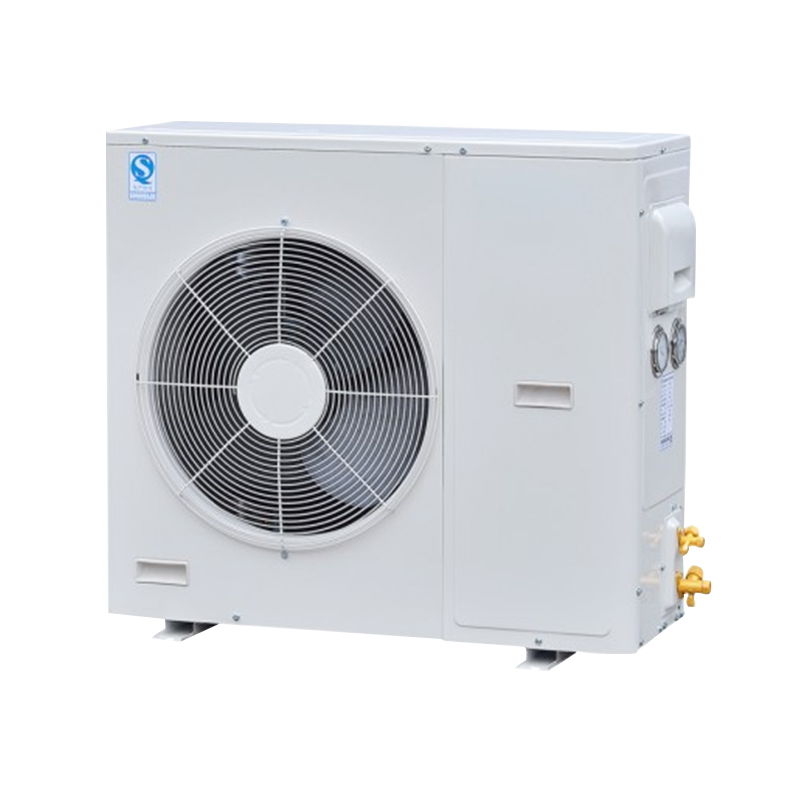 Compact Box-Type Condensing Unit for Small SpacesThis weatherproof enclosure integrates compressor, condenser, receiver, and controls, offering a smaller footprint and easy mobility. Ideal for small businesses, family farms, or tourist resorts, it suits compact machine rooms or outdoor mounting where space is limited.View Product →
Step 4: Apply Derating and Correction Factors
Catalog capacities are measured on a clean test bench under nominal voltage. Real installations lose capacity. Whatever the selection software or rating table says, correct it for the following conditions:
- Altitude above 1000 m. Thinner air reduces both heat transfer in the condenser and mass flow through the compressor. Derate approximately 3% for every 500 m of altitude above 1000 m.
- Long refrigerant lines. Pressure drop in pipes shifts the evaporating pressure downward and the condensing pressure upward. Vertical risers of 10 m or more can reduce usable capacity noticeably unless the discharge line is sized correctly.
- Low supply voltage. Compressor motors and condenser fans lose torque when voltage drops. A -10% voltage change reduces motor output and airflow.
- Defrost cycles. Electric defrost introduces heat into the room; hot-gas defrost interrupts the evaporator duty for several minutes. Allow 10-20% extra capacity for freezers with heavy frost loads.
Then add the safety margin to the calculated load, not to the unit. Multiplying the final unit capacity by 1.1 instead of multiplying the load by 1.1 leads to a larger unit than necessary and the short-cycling problems described earlier.
In cold chain installations that run lightly loaded for long periods, keep in mind that too little load can be just as damaging as too much: low condensing pressure produces flash gas at the expansion valve and poor oil return to the compressor. If you are designing for variable loads, read about low condensing pressure hazards and control methods before finalizing the order.
Step 5: Verify with the Manufacturer's Rating Table
The final step is checking the selected model in the rating table at the exact evaporating and condensing temperatures. The table below is an illustrative example of a typical medium-temperature air-cooled unit; always use the current data published for the specific model you plan to buy.
| Evaporating temp. | Cooling capacity (kW) | Power input (kW) | Discharge temp. |
|---|---|---|---|
| -30 °C | 3.9 | 3.1 | 94 °C |
| -25 °C | 4.8 | 3.5 | 89 °C |
| -20 °C | 5.6 | 3.9 | 84 °C |
| -10 °C | 7.2 | 4.6 | 74 °C |
Read the row at your evaporating temperature and the column at your condensing temperature. If the nearest row gives more capacity than your calculated load plus the safety margin, the model is acceptable. If the gap is too small, choose the next frame size or select a unit with a larger condenser.
Frequently Asked Questions
Can I use a bigger condensing unit for faster pull-down?
A larger unit pulls a warm room down faster, but once the room reaches temperature, it short-cycles, returns oil poorly, and wears out the compressor. If fast pull-down is required, use a unit with capacity regulation or install two smaller compressors that can run together during pull-down and alternate at part load.
What happens if my condensing unit is too small?
The unit runs continuously, the room temperature rises during peak load, the compressor runs with a high compression ratio, and the discharge temperature climbs. Eventually the thermal protection trips. The products may still freeze, but not at the required pull-down rate, and energy consumption per kilogram of product rises.
How much does condenser oversizing improve efficiency?
A 5-10 K lower condensing temperature can improve compressor efficiency by several percent. However, adding one frame size to the condenser increases fan power and purchase cost. In hot climates, one oversize step on the condenser is often worthwhile; two steps rarely pay back.
Do I need a load calculation for every room?
Yes, at least a structured estimate. Floor-area rules of thumb miss door traffic, product intake, insulation condition, and ambient extremes. A systematic load calculation takes less than an hour and gives the confidence that the unit you specify will hold the room on the hottest day of the year.
Final Checklist Before You Order
- Calculated total load including the 10-15% safety margin, expressed in kW.
- Chosen evaporating temperature using the application table.
- Chosen condensing temperature based on the worst-case ambient or water temperature.
- Applied derating for altitude, line length, and defrost.
- Checked the rating table at the exact evaporating and condensing conditions.
- Confirmed the evaporator capacity and expansion valve are matched to the condensing unit.
- Planned for capacity control if the room load varies strongly between day and night.
Time spent on these checks is a small price compared with a failed compressor in the middle of the season. Specify the load, match the conditions, verify the rating, and the condensing unit will give years of trouble-free operation.